Recently I posted a picture of our storefront in Burlington on Facebook, which was decorated with dozens of fabric butterflies welcoming spring. There were a number of people who were interested in how to make these charming decorations. Here are step by step instructions on how to make your own!

(Burlington, VT Store - see list of other retailers here)
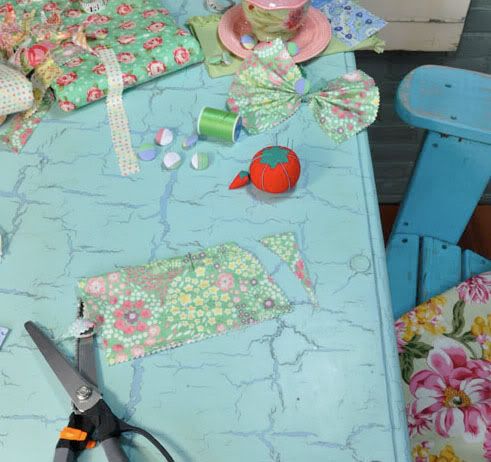
Step one: Measure out a square of fabric and cut with pinking shears – it can be any size. If you plan on making more than one butterfly, it actually looks pretty to have lots of different sizes - just the way Mother Nature intended!
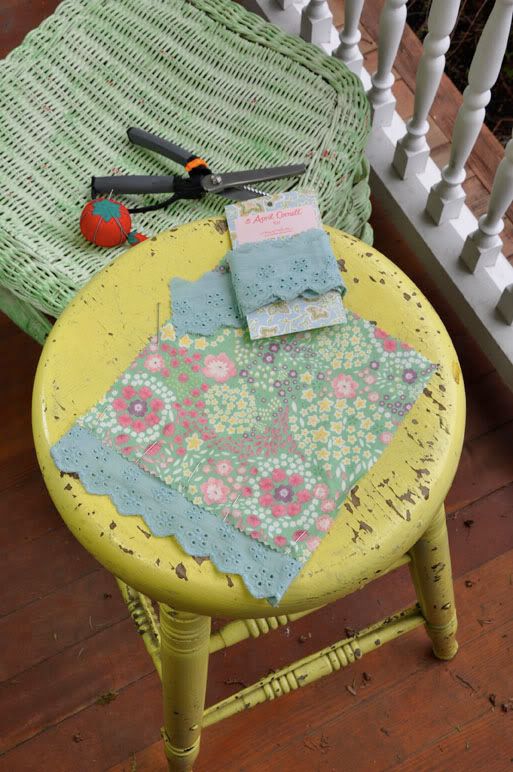
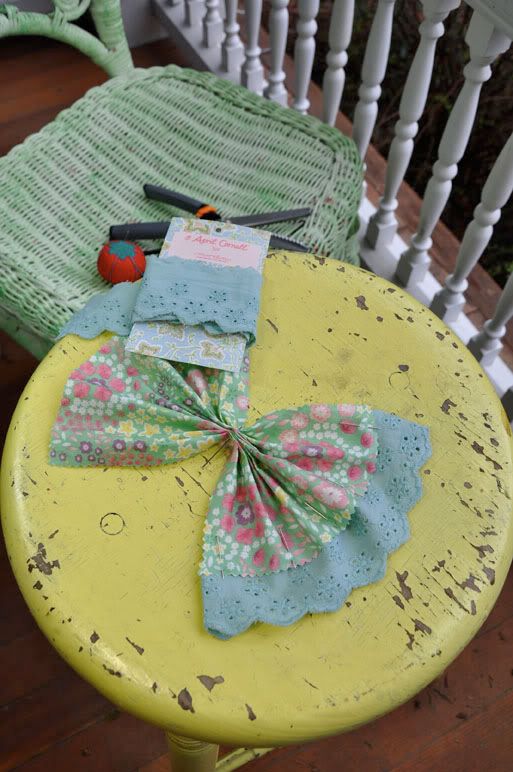
Step two: If you want the wing shape to curve out, simply pleat up straight down the middle of the square. Pinch to hold and secure with a pin.
Step three: Or, if you prefer more shaped butterfly wings, try this additional step. After you measure the square and before you pleat up the center, fold it in half and cut the edges as shown. This creates more of a four-wing look. Then, continue on to step two, pleating up the center on the sides that you did not cut.
Step four: Tie a pretty ribbon, lace, or yarn around the center pleated ‘body’ portion. We liked curling the ends to look like antennae – you might want to use wired ribbon to help in this. You could even use a contrast fabric and just cut a narrow strip with pinking shears.
Step five: Embellish your butterflies with fabric covered buttons in different prints or with uniquely shaped buttons with etched flowers or glistening stones – simply stitch right on top of the center or, if the button has a large enough shank, you could thread your tie through it in order to secure.
Step six: You can get as creative as you’d like with this – we added a scalloped eyelet trim in soft aqua cotton at the edge of the wing for a vintage and feminine touch.
Step seven: Tada! How cute!
Step eight: Place your butterflies wherever you want a cheerful reminder of spring – tie them to chairs at your next picnic or hang them in your own windows! They’ll float just like the real thing when a soft breeze brushes by.
I hope you enjoy being creative with this fun Spring project – it’s simple enough to do with your little girls and grandmothers. What a fun May Day, Mother’s Day, or any day gift or activity! Feel free to share photos your own fabric butterflies!
April
Live Beautiful Feel Beautiful Be Beautiful


5 comments:
I'm seeing a project- off to dig out some fabric!
xoxo Pattie
I love the teacup in the background of the third pic down! Is it April Cornell?
Hi, i thought u might be interested in how i took Your table cloths and made them into drapes , shams, throw. ect. This was the perfect colors i was looking for. And the sizes of table cloths really helped me make drapes very easily.. Look under my Master bedroom post , if u have a chance.. Thanks mishelle
That is the cutest idea and looks so easy! Gotta try that with my girls!!
Hi...the poet jacquard napkins and daisy napkin rings I ordered were just perfect with some vintage Noritake china I was trying to match for a tablescape. I hope you get a chance to take a look!!
Post a Comment